
Introduction
So, we have learned how to use one of the AI bot created by us.But what about actually building one?
This topic will go over the basics of making a simple discord bot based on python.
How to Make a Discord Bot in the Developer Portal
Before you can dive into any Python code to handle events and create exciting automations, you need to first create a few Discord components:
- An account
- An application
- A bot
- A guild
You’ll learn more about each piece in the following sections.
Once you’ve created all of these components, you’ll tie them together by registering your bot with your guild.
Creating a Discord Account
The first thing you’ll see is a landing page where you’ll need to either login, if you have an existing account, or create a new account:
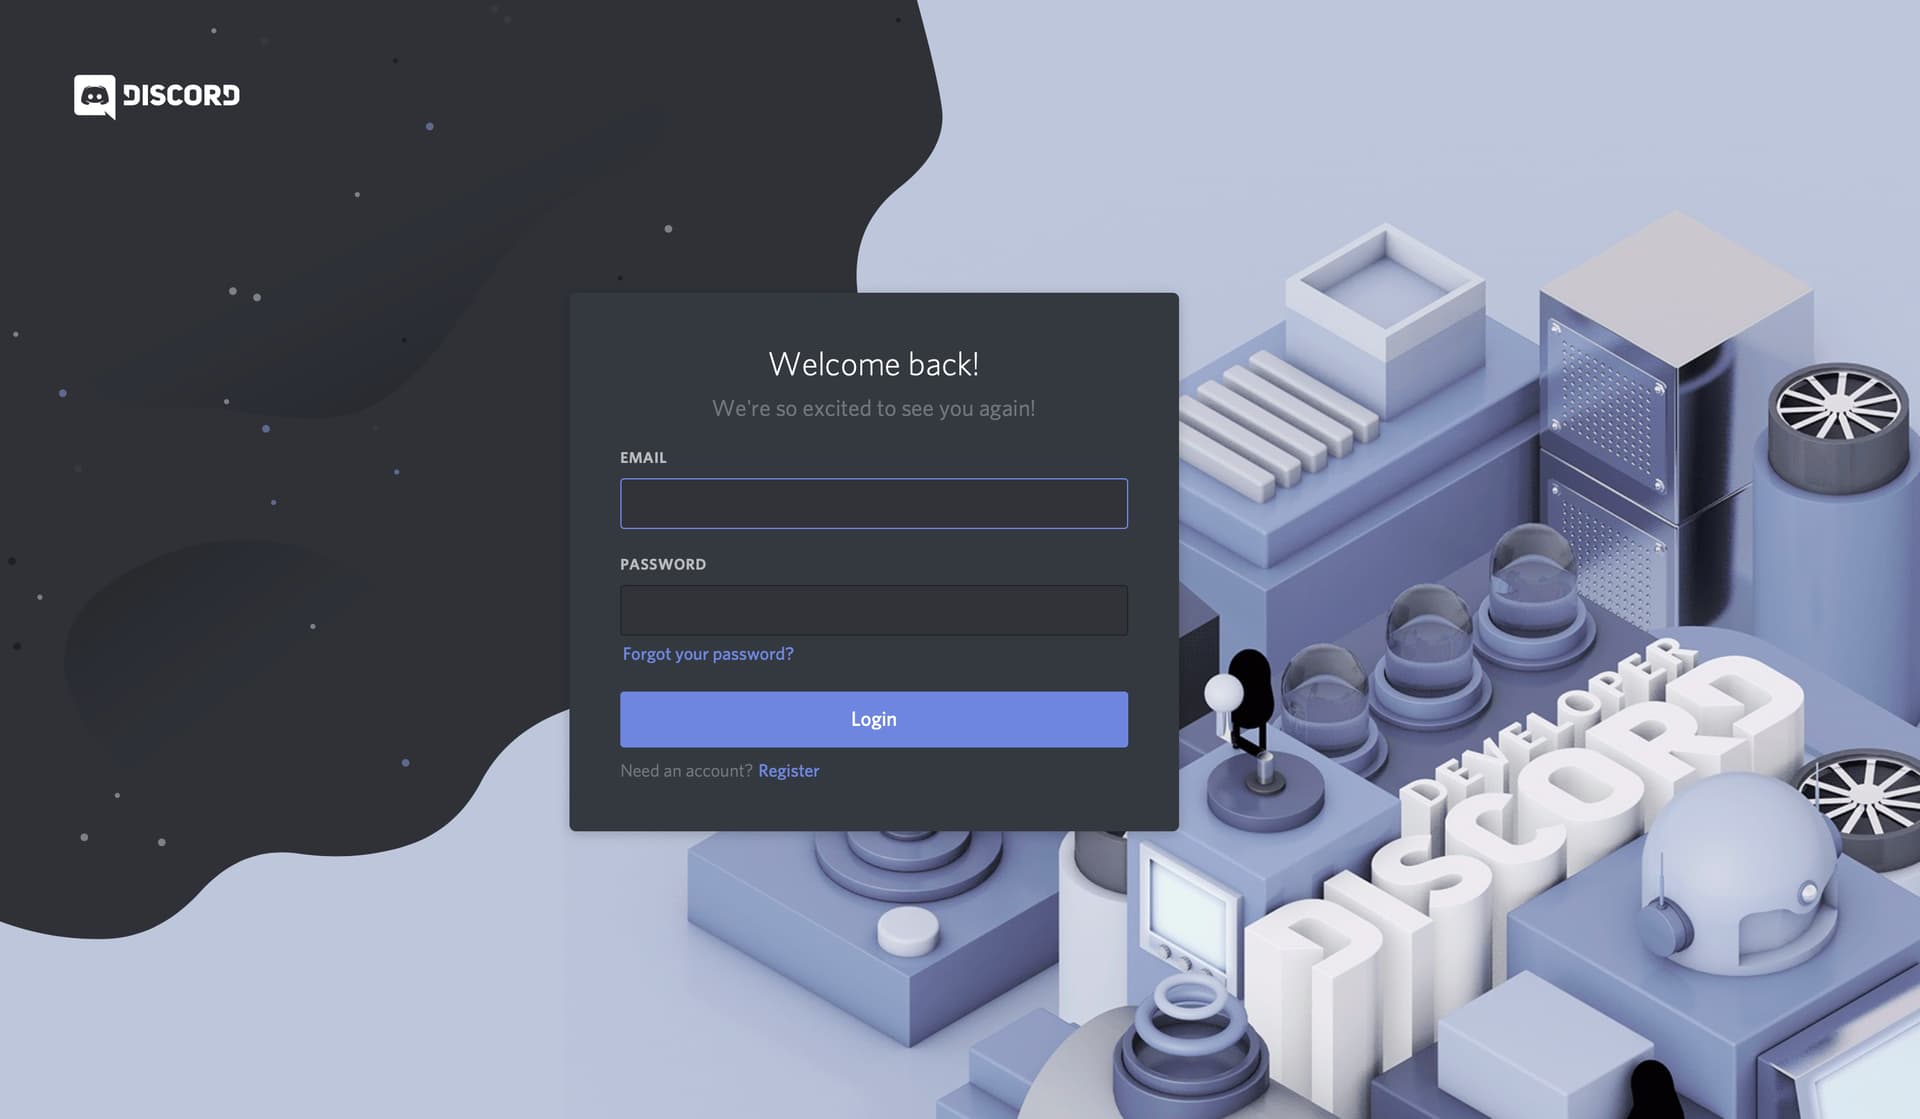
If you need to create a new account, then click on the Register button below Login and enter your account information.
Creating an Application
An application allows you to interact with Discord’s APIs by providing authentication tokens, designating permissions, and so on.
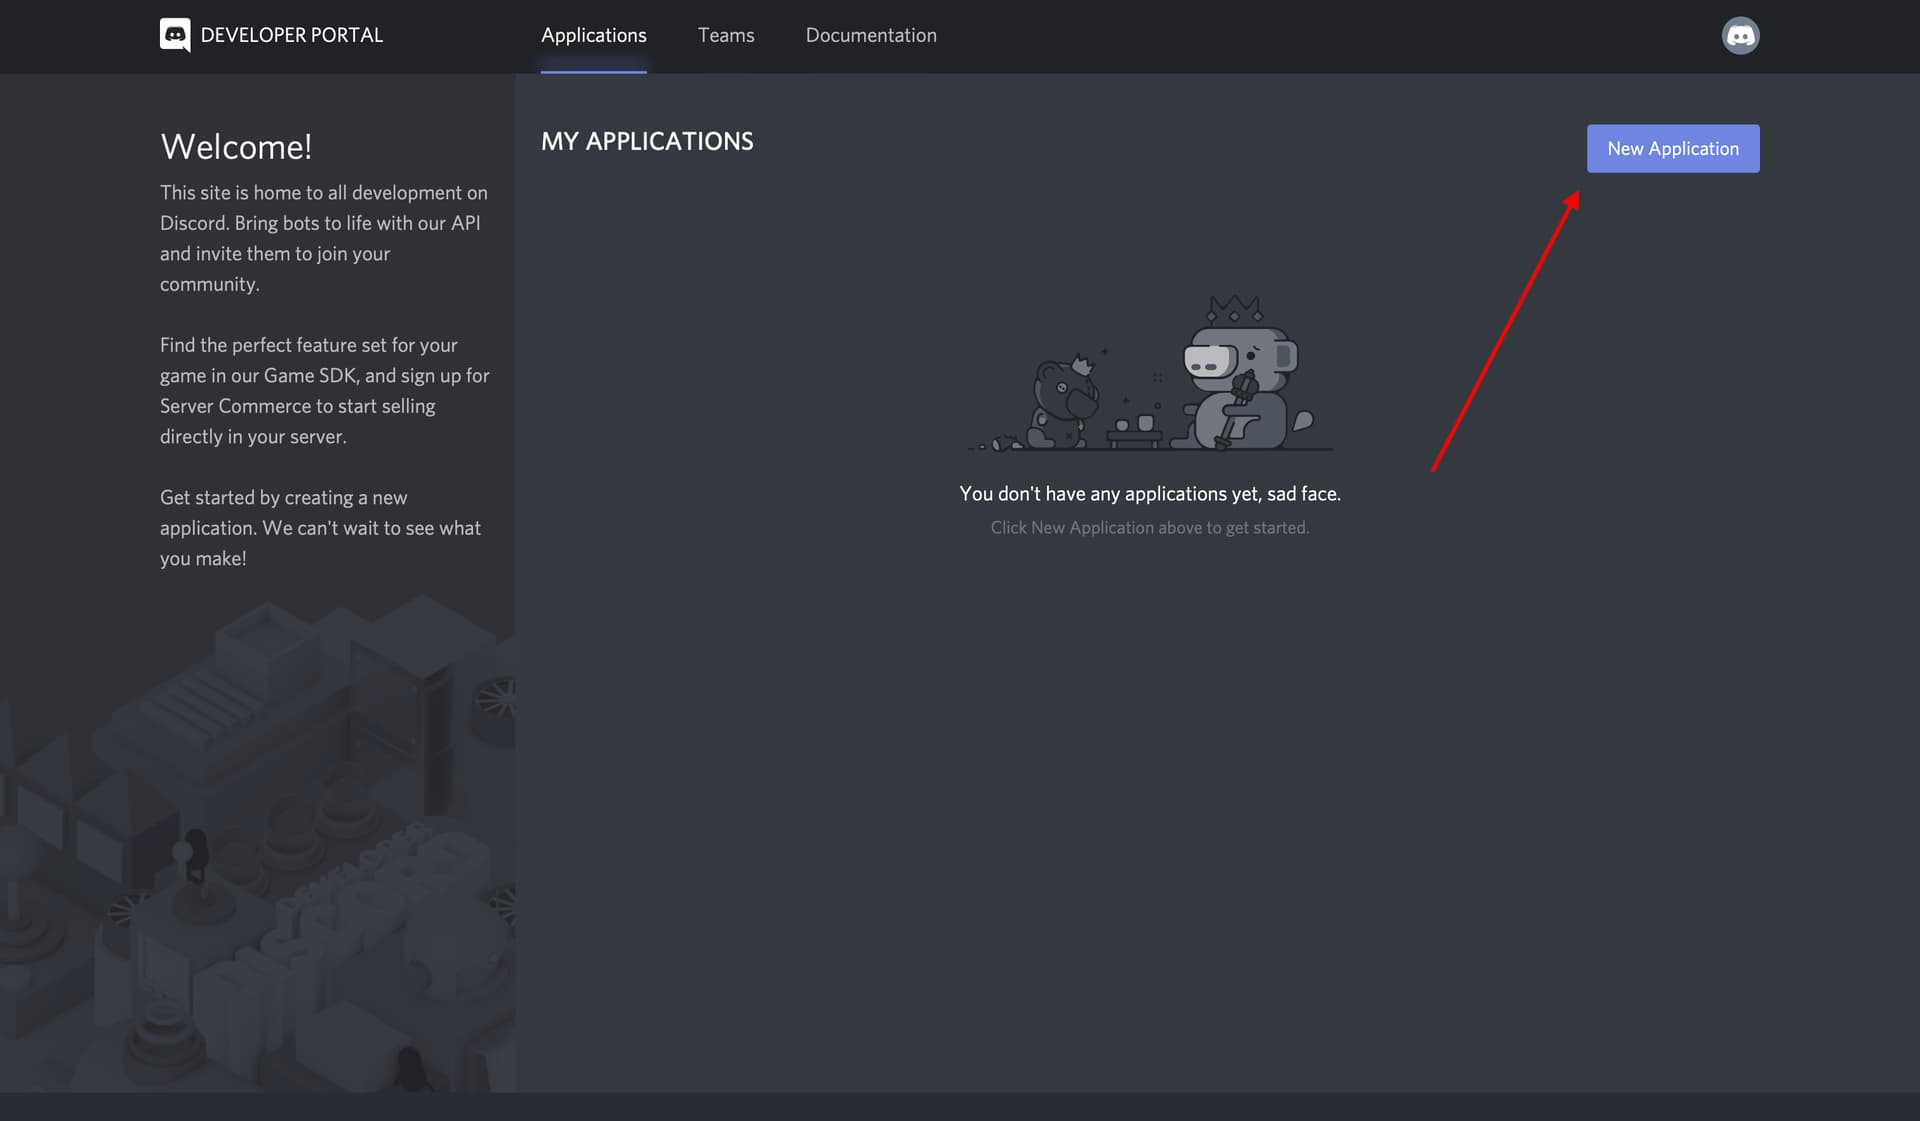
To create a new application, select New Application:
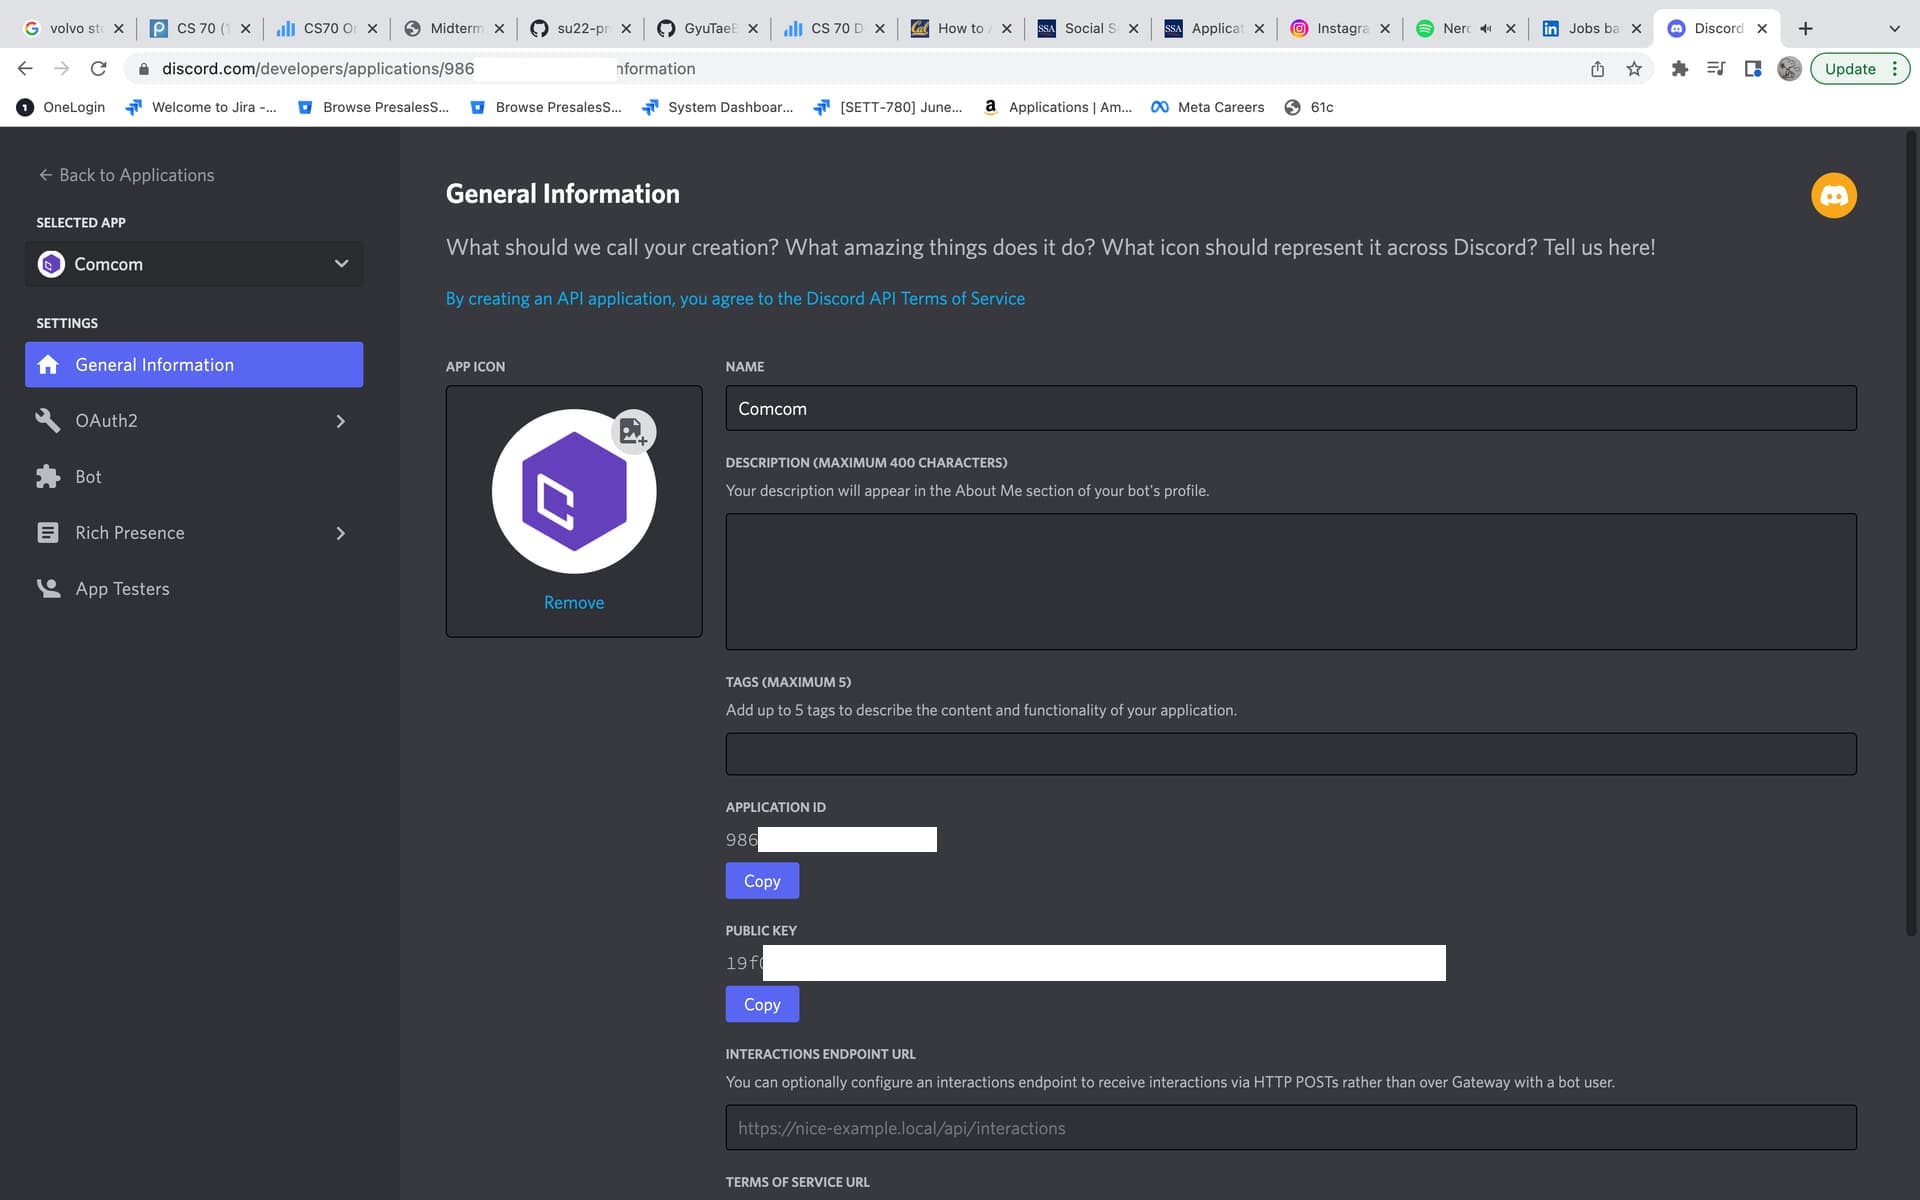
Next, you’ll be prompted to name your application. Select a name and click Create:
Creating a Bot
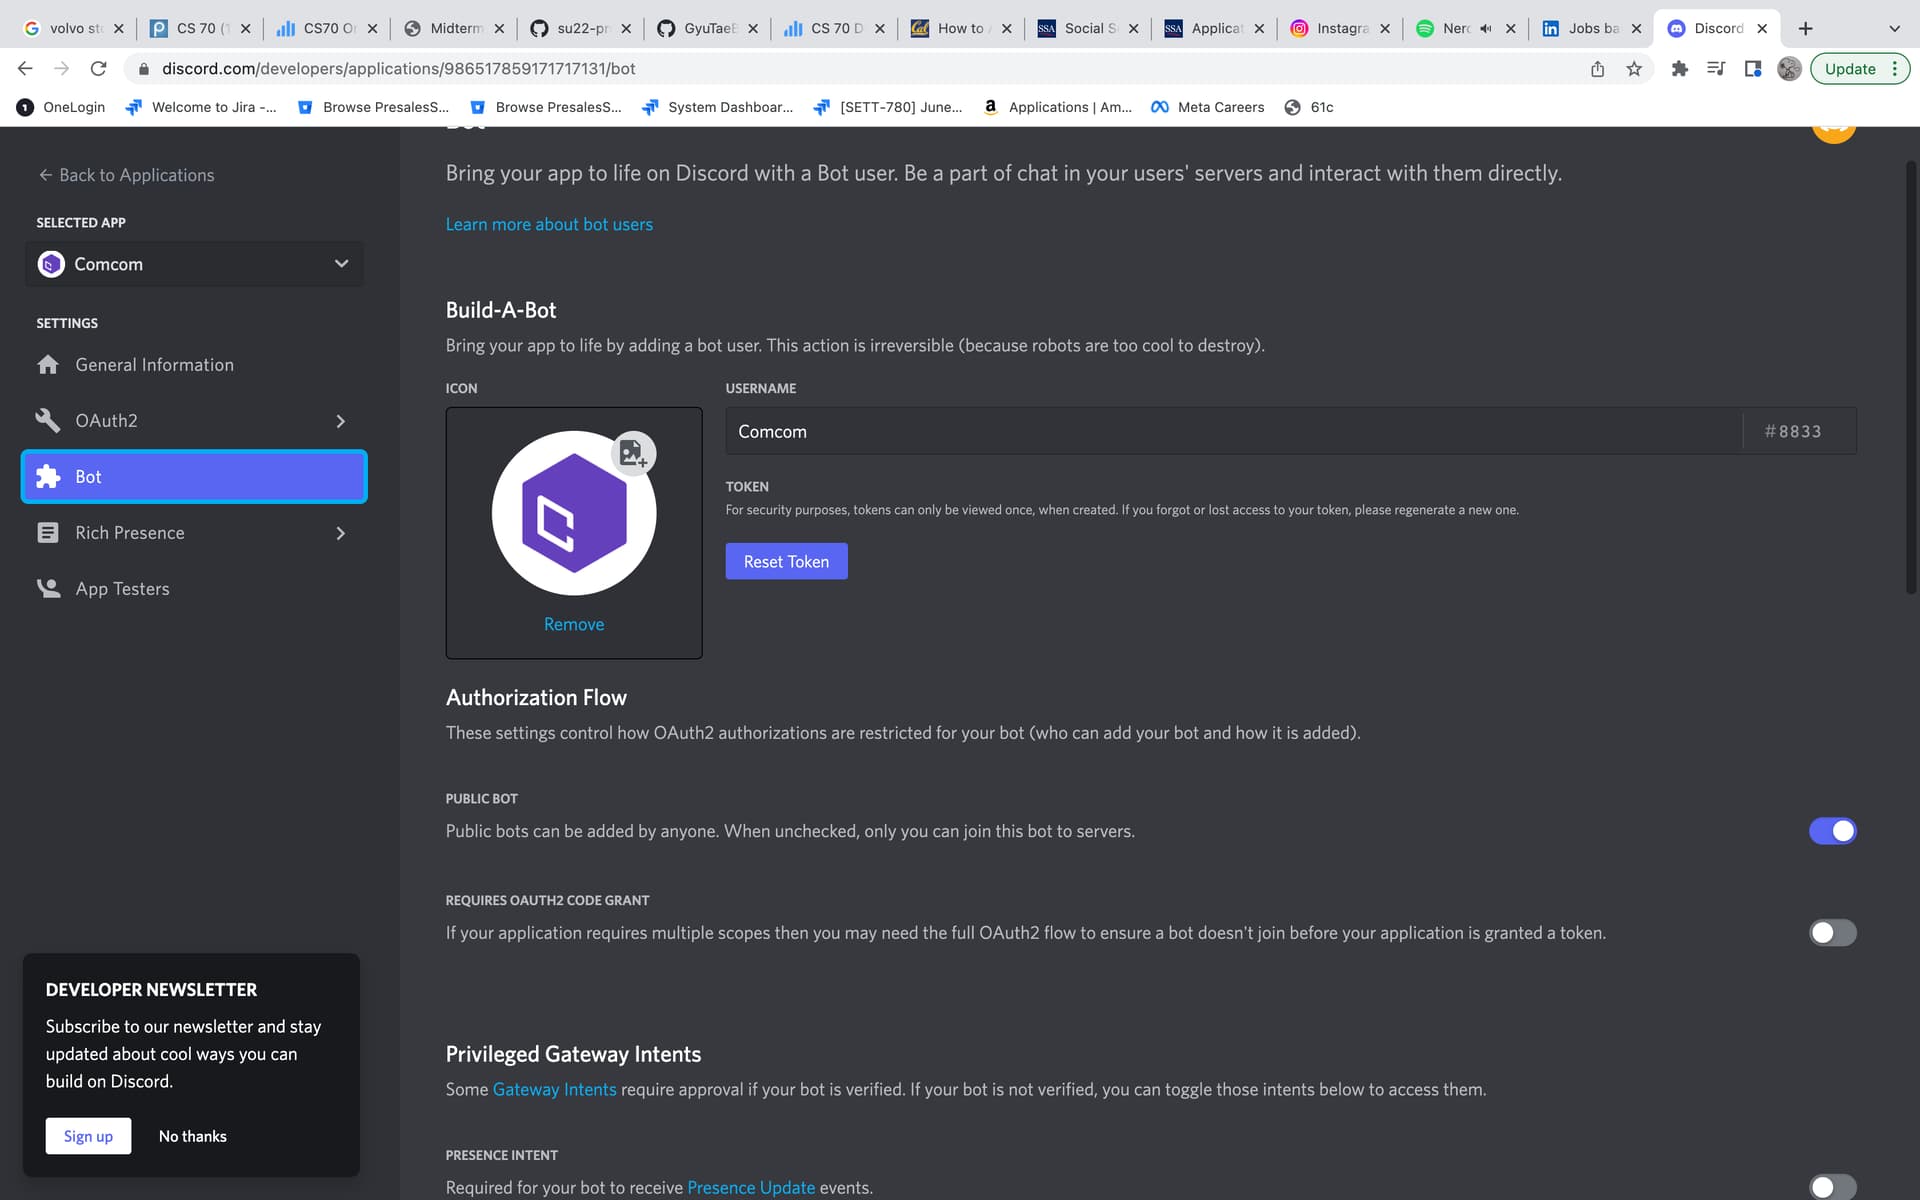
As you learned in the previous sections, a bot user is one that listens to and automatically reacts to certain events and commands on Discord.
For your code to actually be manifested on Discord, you’ll need to create a bot user. To do so, select Add Bot:
Once you’ve created your guild, you’d invite other users to populate it.
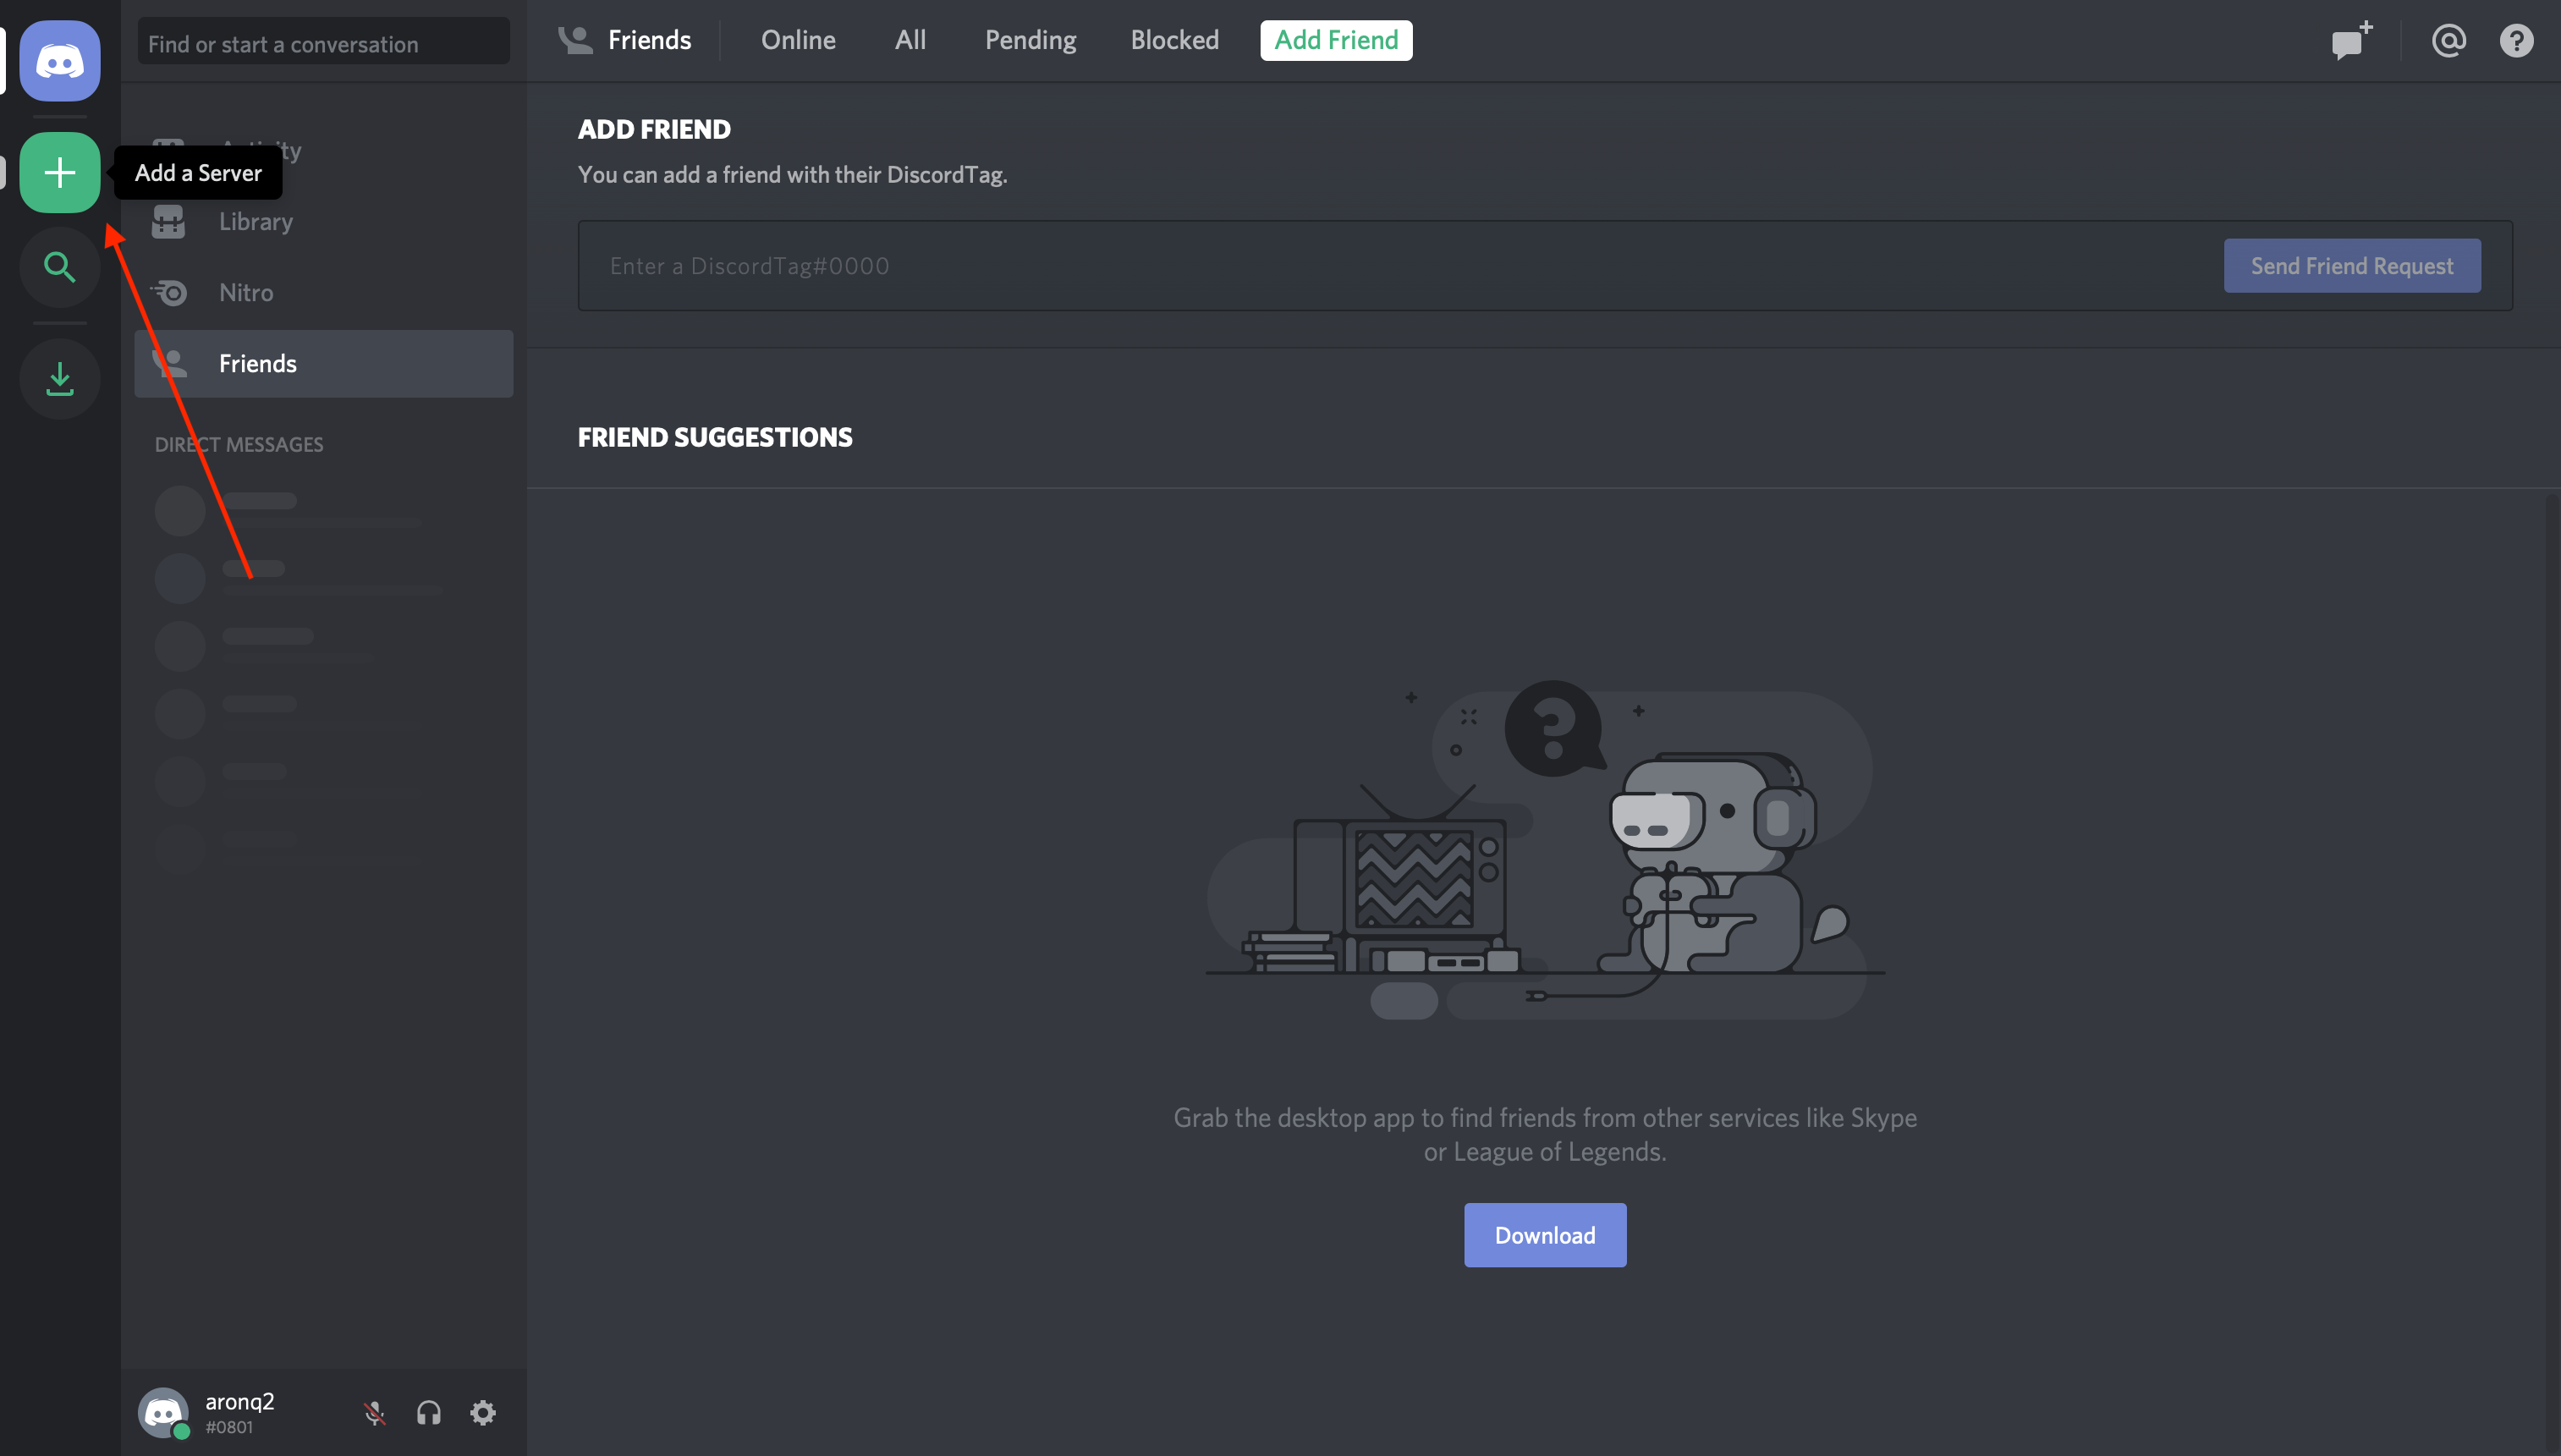
So, to create a guild, head to your Discord home page:
From this home page, you can view and add friends, direct messages, and guilds. From here, select the + icon on the left-hand side of the web page to Add a Server 
To do so, head back to the Developer Portal and select the OAuth2 page from the left-hand navigation:
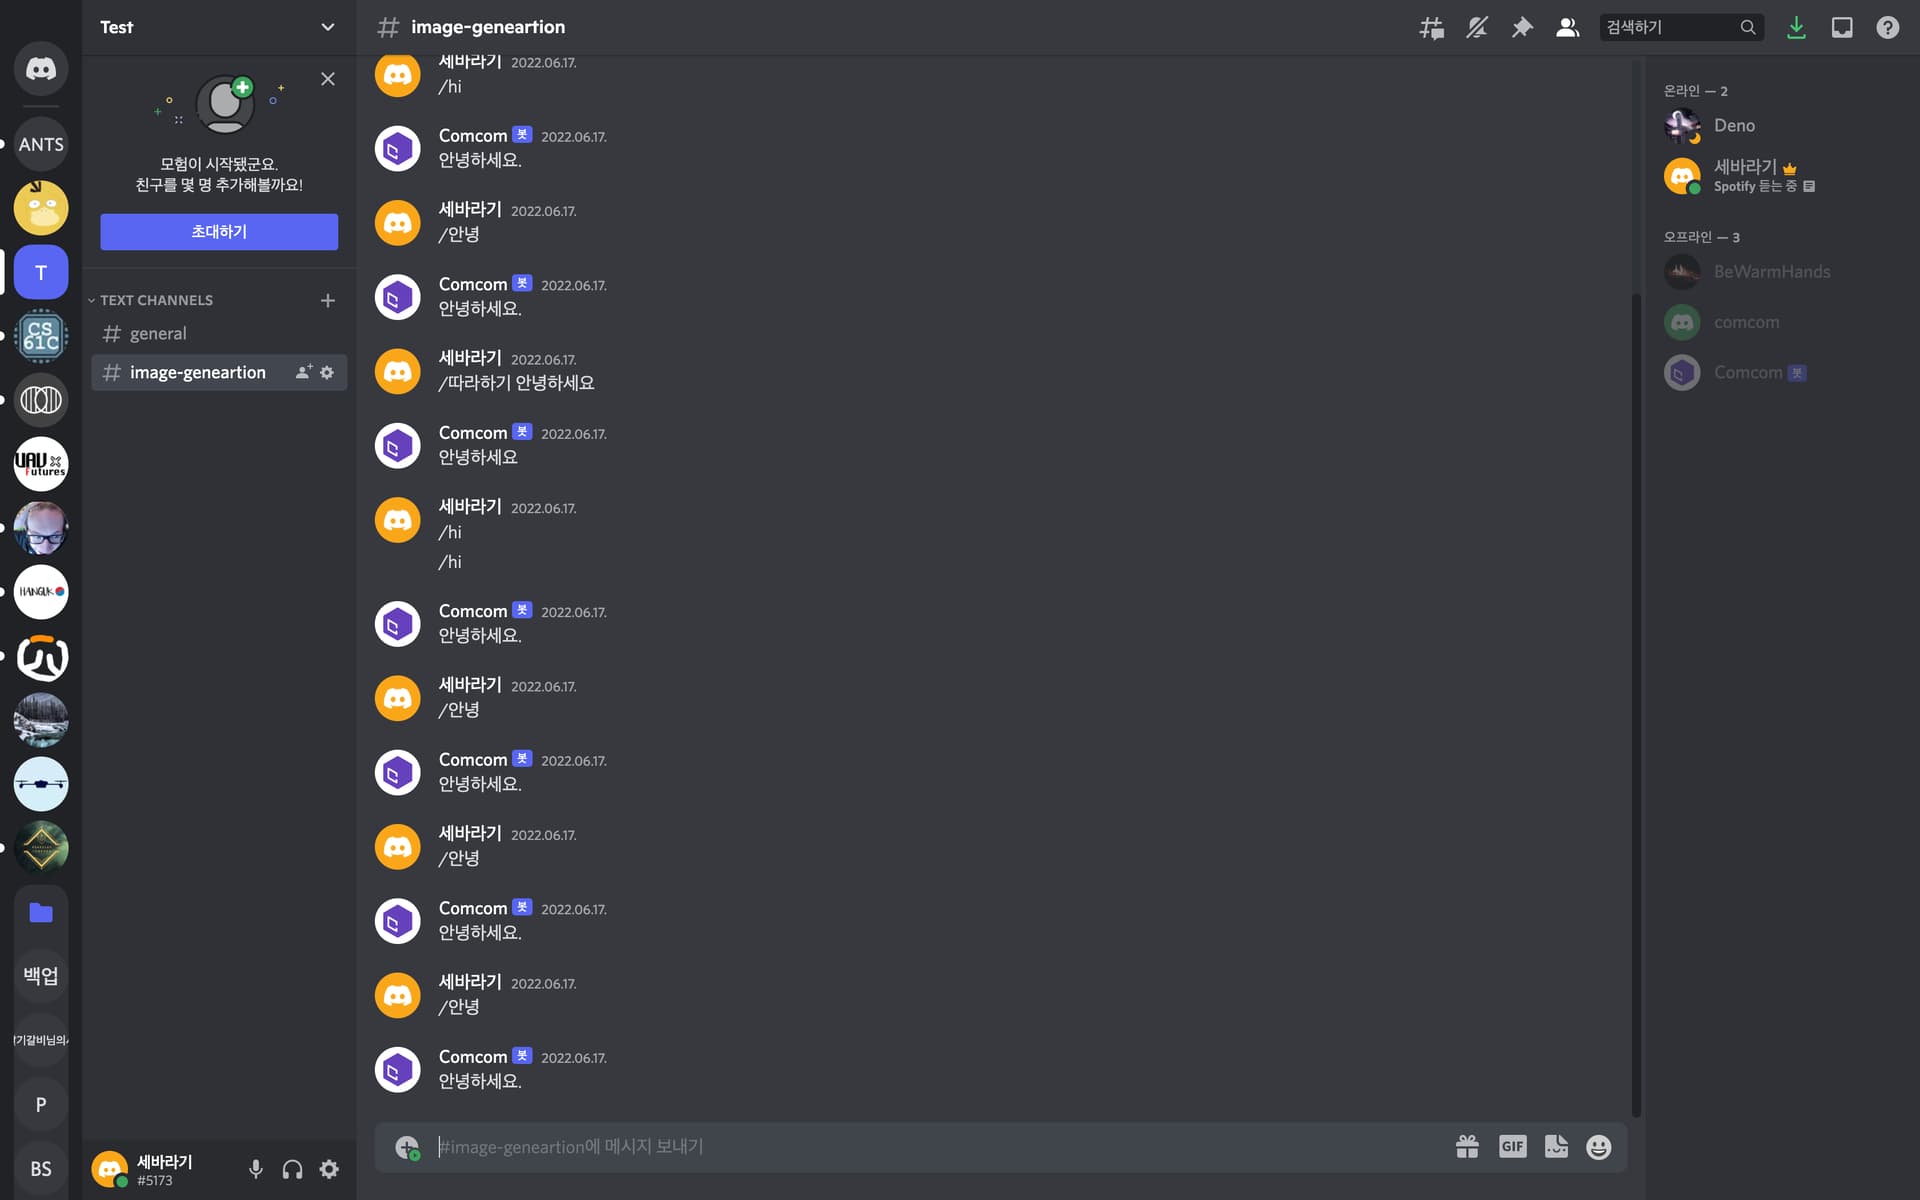
Once you’ve finished creating your guild, you’ll be able to see the users on the right-hand side and the channels on the left:
So the final product should look something like this.
Adding a Bot to a Guild
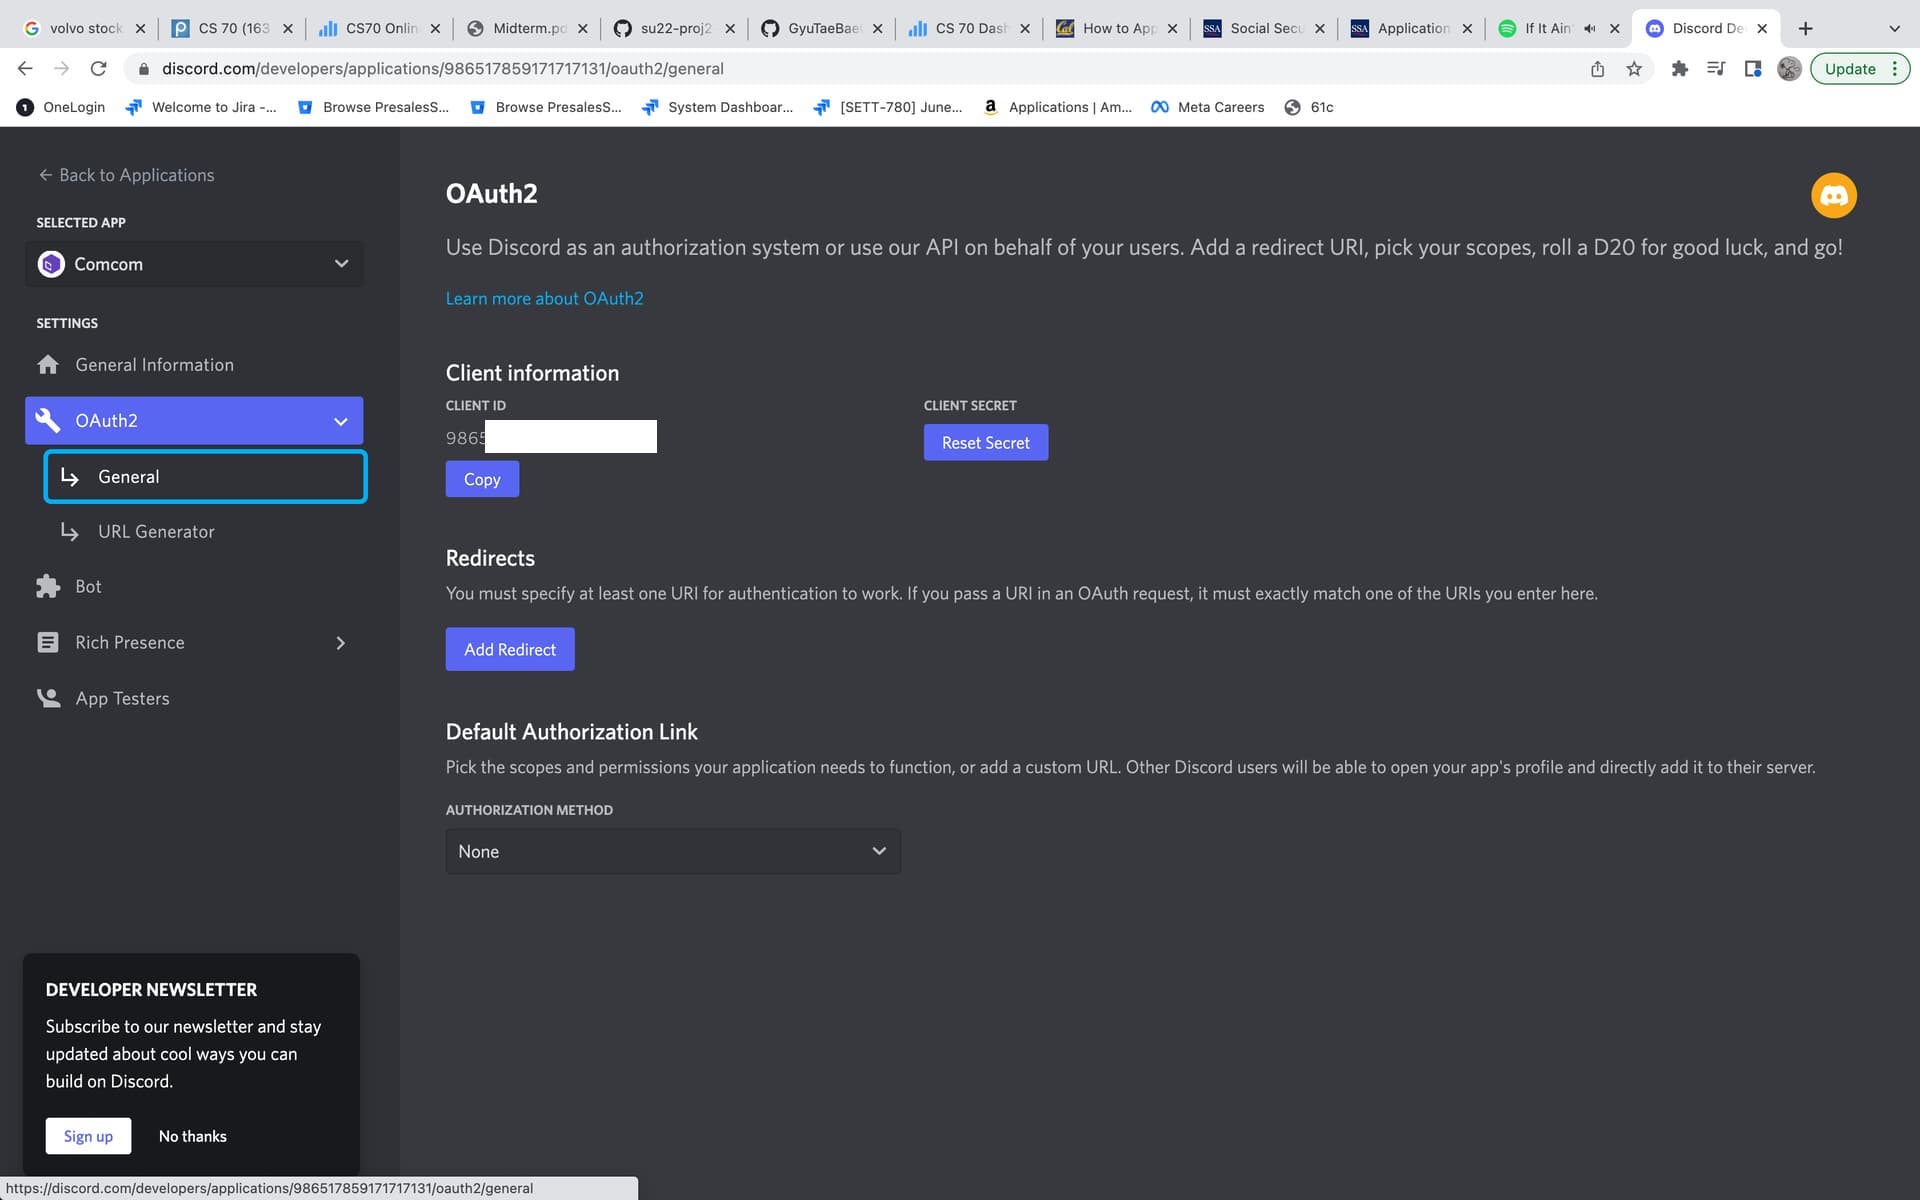
A bot can’t accept invites like a normal user can. Instead, you’ll add your bot using the OAuth2 protocol.
To do so, head back to the Developer Portal and select the OAuth2 page from the left-hand navigation:
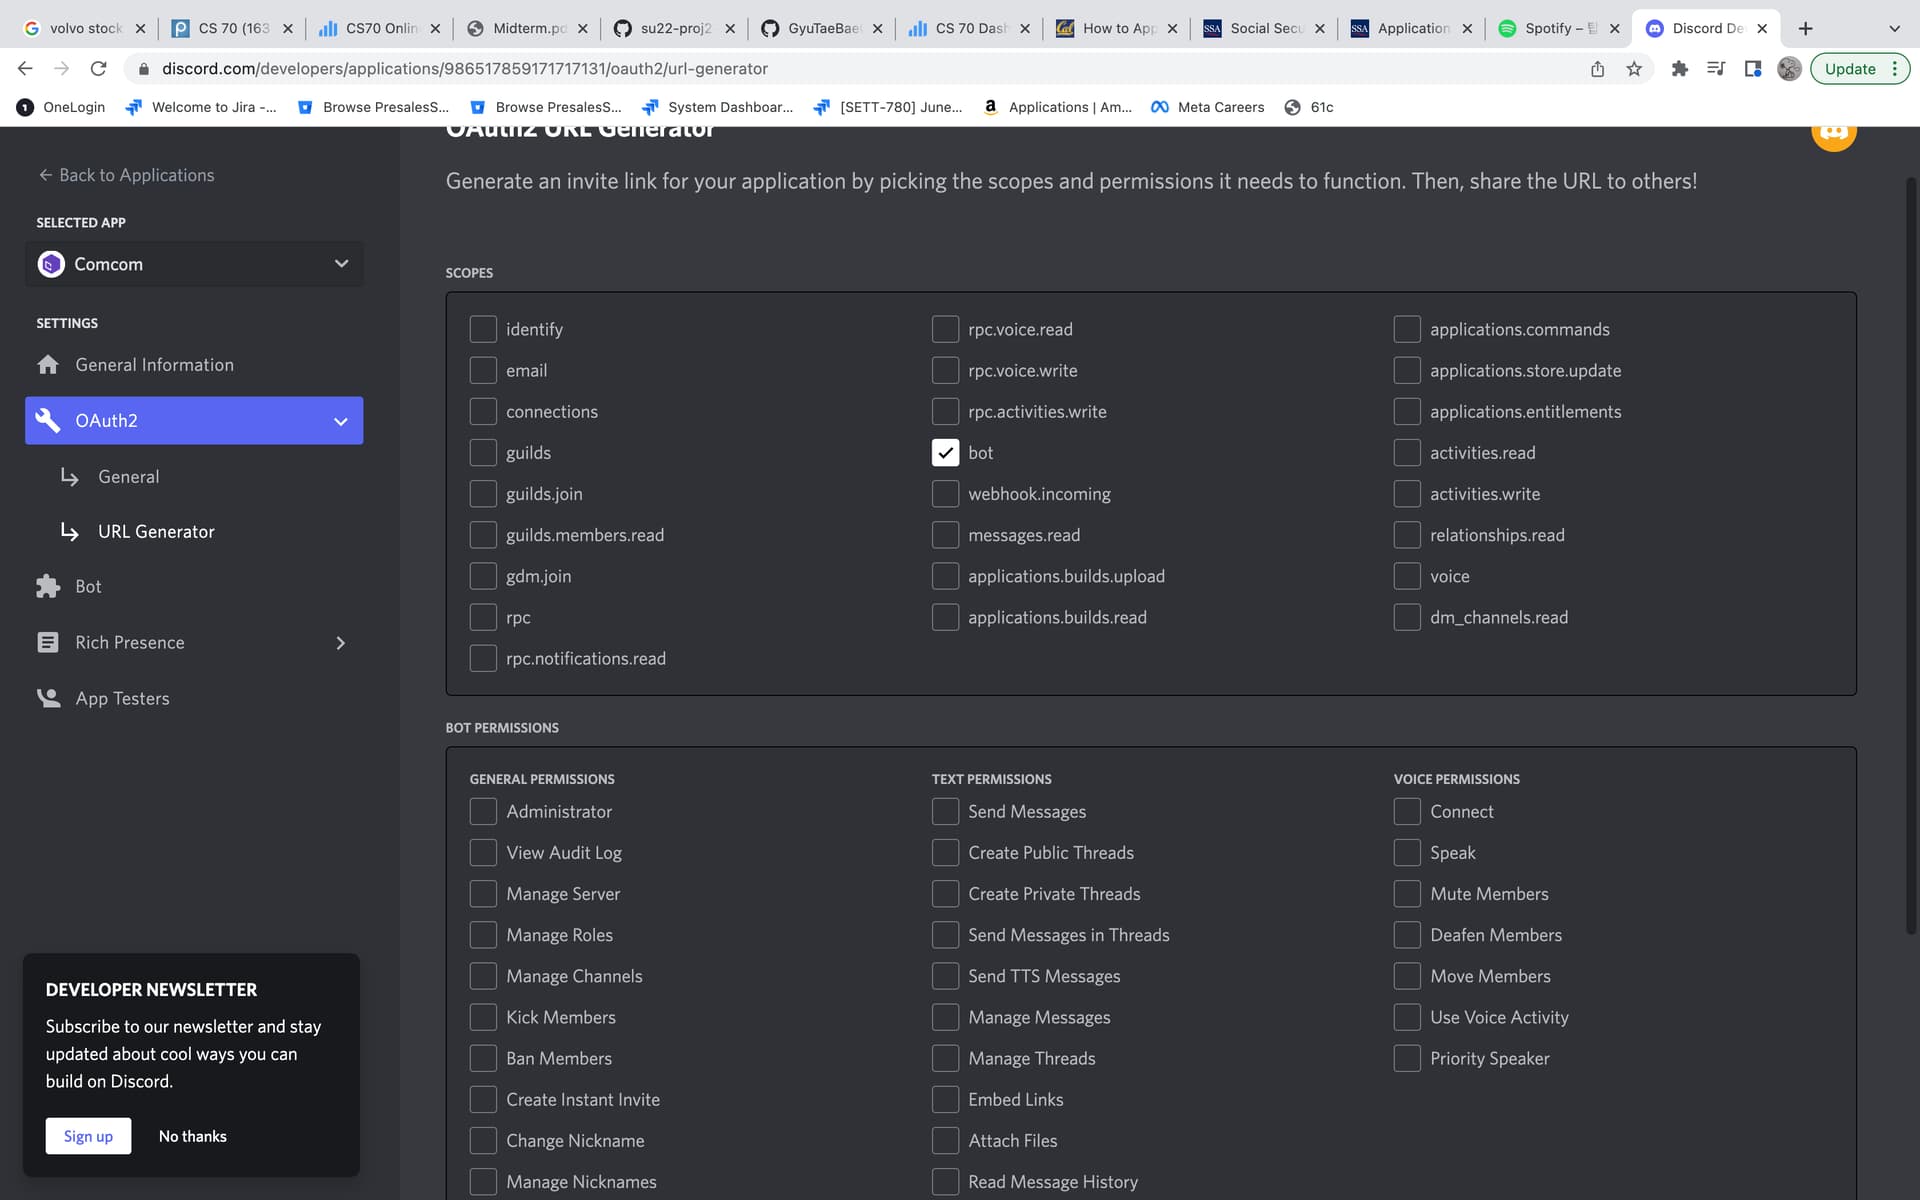
Now, Discord has generated your application’s authorization URL with the selected scope and permissions. Select Copy beside the URL that was generated for you, paste it into your browser, and select your guild from the dropdown options:
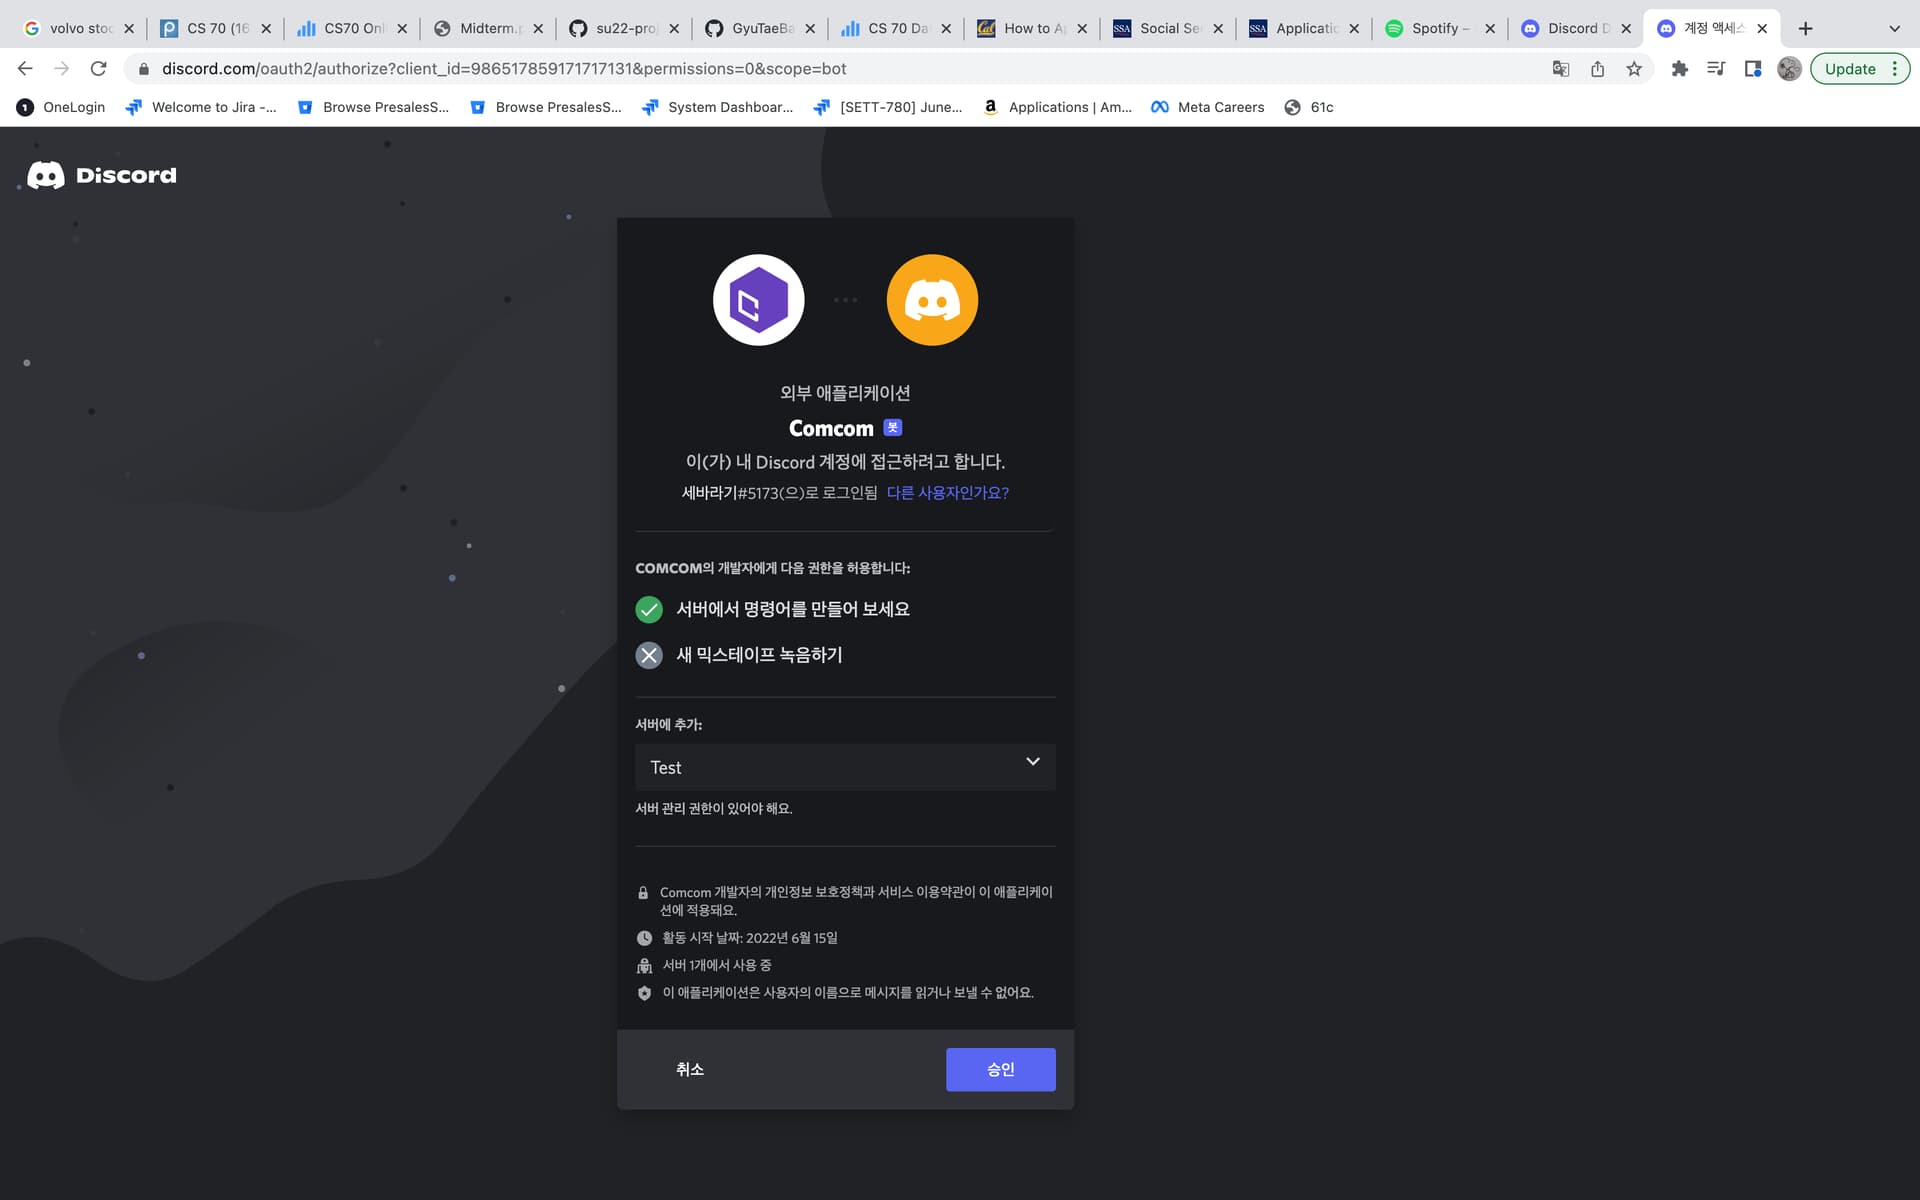
Click Authorize, and you’re done!
If you go back to your guild, then you’ll see that the bot has been added:
In summary, you’ve created:
- An application that your bot will use to authenticate with Discord’s APIs
- A bot user that you’ll use to interact with other users and events in your guild
- A guild in which your user account and your bot user will be active
- A Discord account with which you created everything else and that you’ll use to interact with your bot
Now, you know how to make a Discord bot using the Developer Portal. Next comes the fun stuff: implementing your bot in Python!